Lovely damsel waiting for his price.
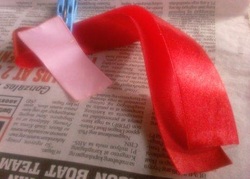
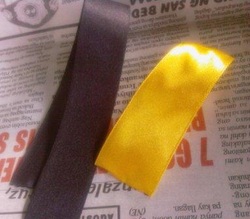
We need a 3" ribbon for its face, 15" ribbon for her long hair, 6"x0.25" for the ribbon on her hair and two seductive eyes.
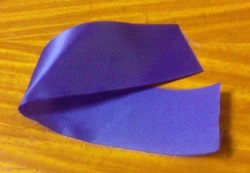
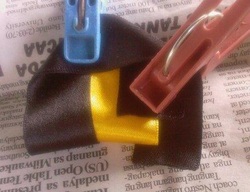
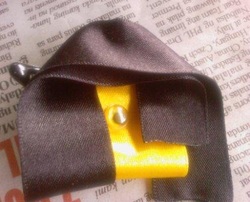
Fold the face into halves then wrap around the hair. Noticing a very long end.
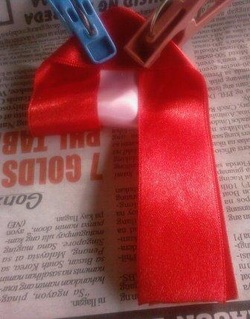
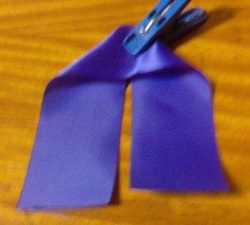
This is how it should look at the back.
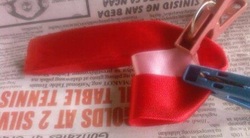
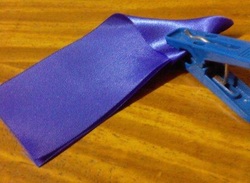
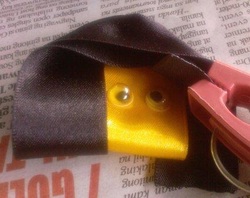
Then tie the small ribbon just below the chin. Glue them all in place. In such a way that the hair will not separate from the face when touched or pulled.
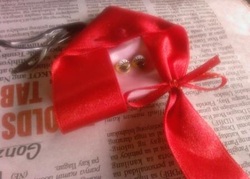
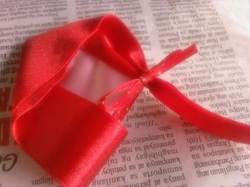
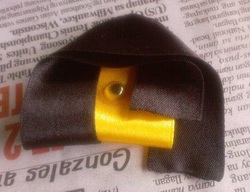
Glue in the eyes and hair clip and your just finished your project.
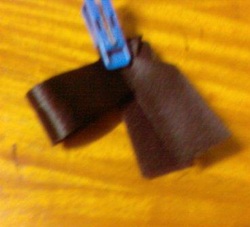
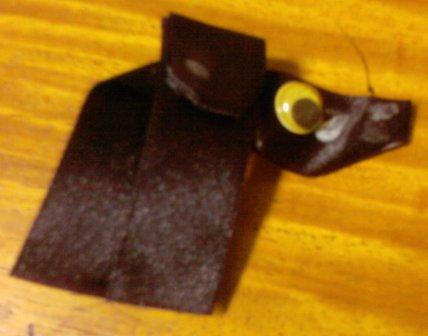
A cute little dog with big ears. More popularly known of the hotdog breed, the duschshund.
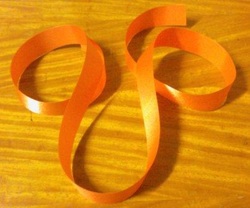
We nee a 10"x1.5" ribbon and a dolls eye
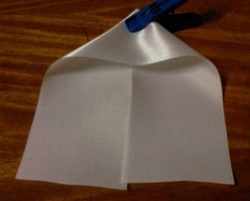
Find the center and fold it like so to reveal a triangle.
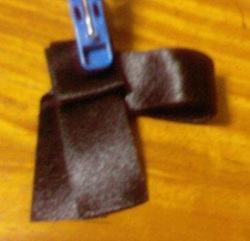
Fold the triangle at the center.
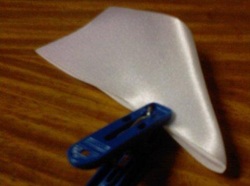
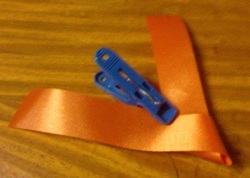
Pull down each end to opposite sides as shown. They will become the ears. The pointed end will become the snout.
Insert the pointed end of the snout inside to make it chopped. Then glue them in.
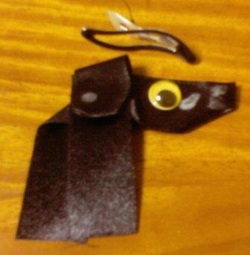
Glue in an eye and hair clip. Smoothen the ears by cutting it to resemble fine ears.
This is how it should look like when you finished your project.
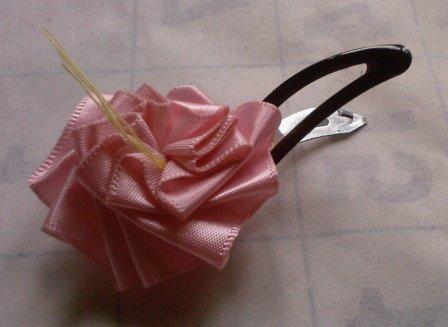
A cute flower with stamen. It looks complicated but easy to make.
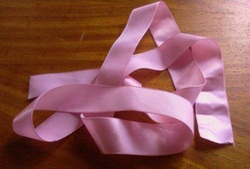
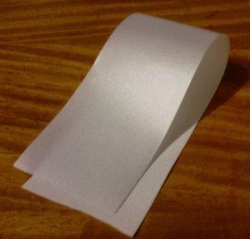
We need 1"x12" ribbon.
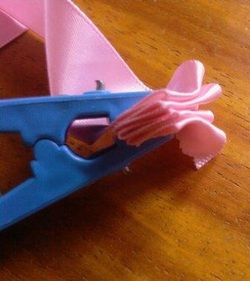
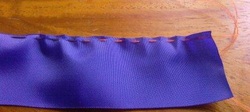
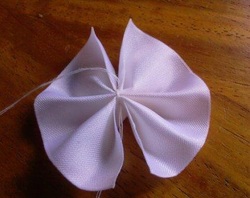
Fold half an inch all the way.
Then insert a needle with thread at the top of the folds.
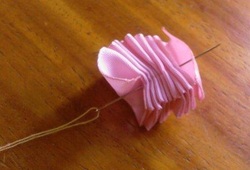
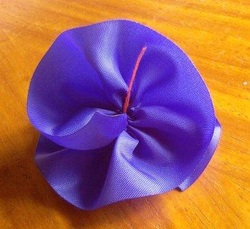
Then ties the both ends of the thread together. It now holds the ribbon at the center. Evenly spread the folds around the thread then press it down at the middle.
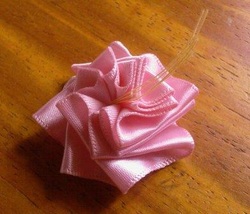
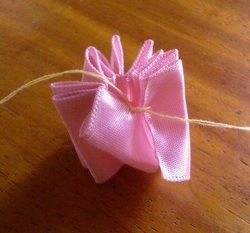
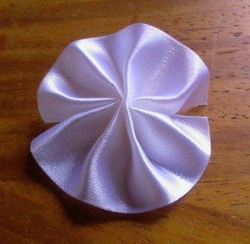
Your results will be like this then cut the thread longer to show the stamen.
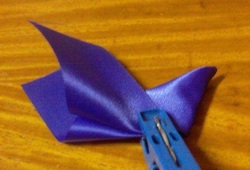
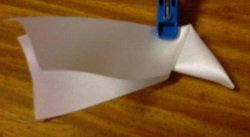
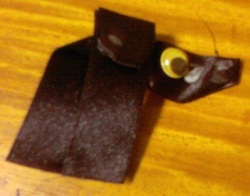
Lovely princess horse for your hair.

We need an eye with twinkling lashes
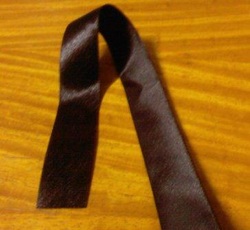
and a 2"x8" ribbon
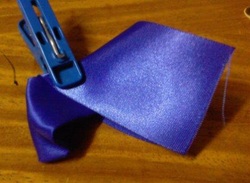
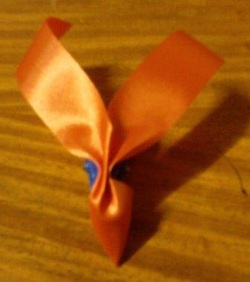
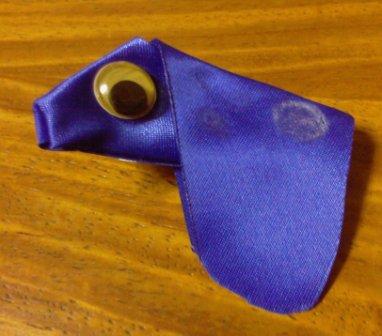
Find the center and create this triangle.
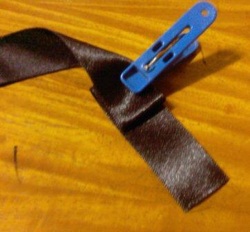
Fold the triangle at the middle with the triangle inside.
Fold the ribbon again like so.
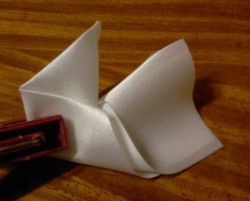
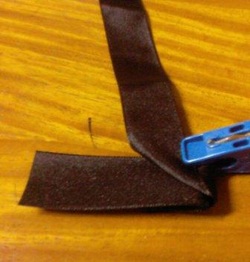
Then flip back like so. The pointed part is the mouth and the other end is the body. Between them is the hair.
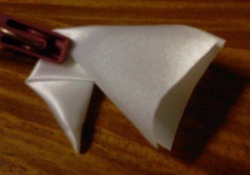
This is how the folds look like at the back.
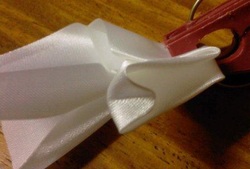
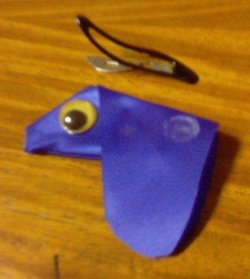
Insert the tip of the mouth to form a chopped shape. Glue them all to secure them in there place.
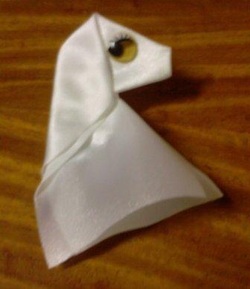
Then glue the eye with lashes and the hair clip and your project should look like this. Lovely!
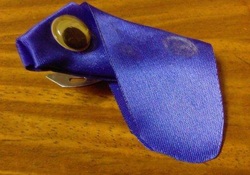
A beautiful black dog with spots. An easy to do projects but rocks on your hair.
W need 10"x1" ribbon and eye
Measure 3" then fold it. Fold up after another 1". Continue to bring the long end to the back.
This is the back. Fold it diagonally, 45 degrees. Measure 3" then fold it back. Fold it down again diagonally.
Your project should look like this now. Both ends should separate a bit to form a bulkier body.
This is how it looks at the front.
Insert the edge of the ear inside to make the edges curvier. For the snout, insert the lower edge only. Glue the eye and hair clip. The white blemishes were made by the glue, you may leave it so as spots or you can color it with pentel pen or marker to cover the flaw.
You project is finished this way. Enjoy!
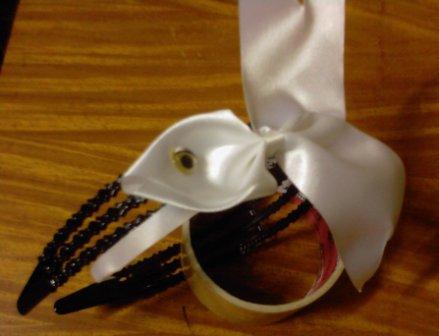
A charming doll on your hair with a surprise stare.
We need 1"x11" ribbon for the hair and 1"x3" ribbon for the face. They should be of different colors.
Then your ribbons will look like this only if you follow these steps. Fold the hair ribbon ribbon with each end an inch apart. That inch will create an illusion that the hair were cut staggered. Fold the face ribbon then wrap around the hair ribbon like so. The smaller end is forwarded and manipulated or adjucted to cover half of the face. The other end is at its correct place. Notice the overlap of the face and hair. this overlap on both sides and top of the face will be glued to hold them together.

This is how it looks at the back.
Glue them in to secure them in there place. Glue in two eyes, one under the hair and one peeking out. The eyes will give a stare to anyone curious enough to poke on your hair bow.
This is how your project should should look like when finished sticking them all together.
And here you have it a lovely Ribbon hair clip.
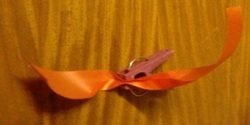
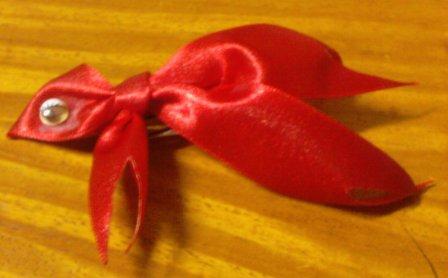
A cute goldfish that I found on the net while trying to see how the Bow Ribbons have evolved and I found this particularly interesting plus it is easy to make.
We Just need a ribbon 1"x10" and another 6" long.
Find the middle and create a triangle like so.
Fold just below the small triangle for the fin.
Get the 6" long ribbon and fold thirds at the middle
Then tie it where smack right where you folded. Finis the ends like so. Don't forget to glue an eye or draw it as warranted.

Glue it on a Hair Clip.
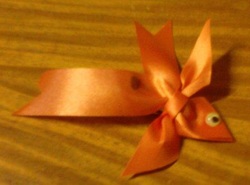
And here it is ready for a silky hair.
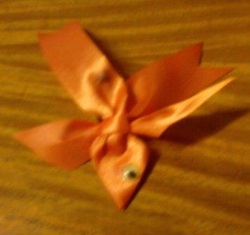
Other samples of Fish bows made on different ribbon colors. Simple manipulations were done on the other examples which surely is easy to follow.
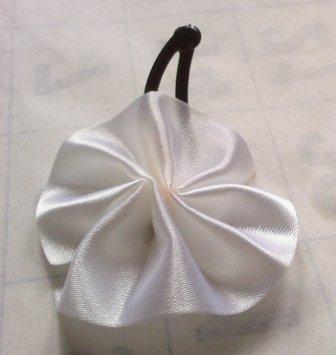
A delicate flower on your hair is simple to make and a lot of fun.
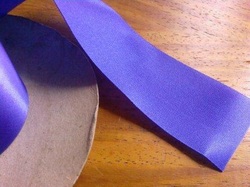
Cut 8 inches of a 1.5 inch wide ribbon
Do a running stitch (of small distances) at one end. Then tie both ends of the thread tightly to create the center of the flower.
Rotate the Ribbon as to how you would like your flower look like. For this project, it was overlapped for a quarter only.

Cut the thread longer to replicate a stamen then glue it on a hair clip.
Totally easy to make. Very simple yet elegant.

We need 2"x2" ribbon
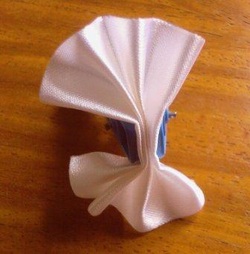
Fold half inches all the way, creating 3 folds on the bottom and four folds on top. Be mindful not to press the folds at the edge and only at the middle.
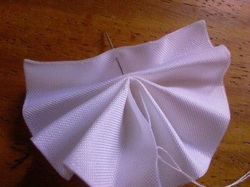
Sew it in at the bottom to secure the folds.
Then spread the folds, creating a round flower.
Your project should look like this.
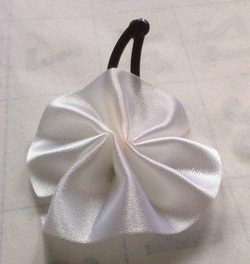
When posted to a hair clip, it would look like this. Funny, the picture is liken to a snail.


 RSS Feed